Why GarageBand?
As music educators, we’re always looking for tools that will enhance the learning experience and spark creativity in our students. When it comes to accessible, user-friendly music production software, GarageBand stands out as a top choice. It’s free on both Macs and iPads, which makes it a game-changer for schools, especially those with tight budgets. Whether you’re teaching elementary school or higher education, GarageBand is versatile enough to suit a variety of age groups and skill levels.
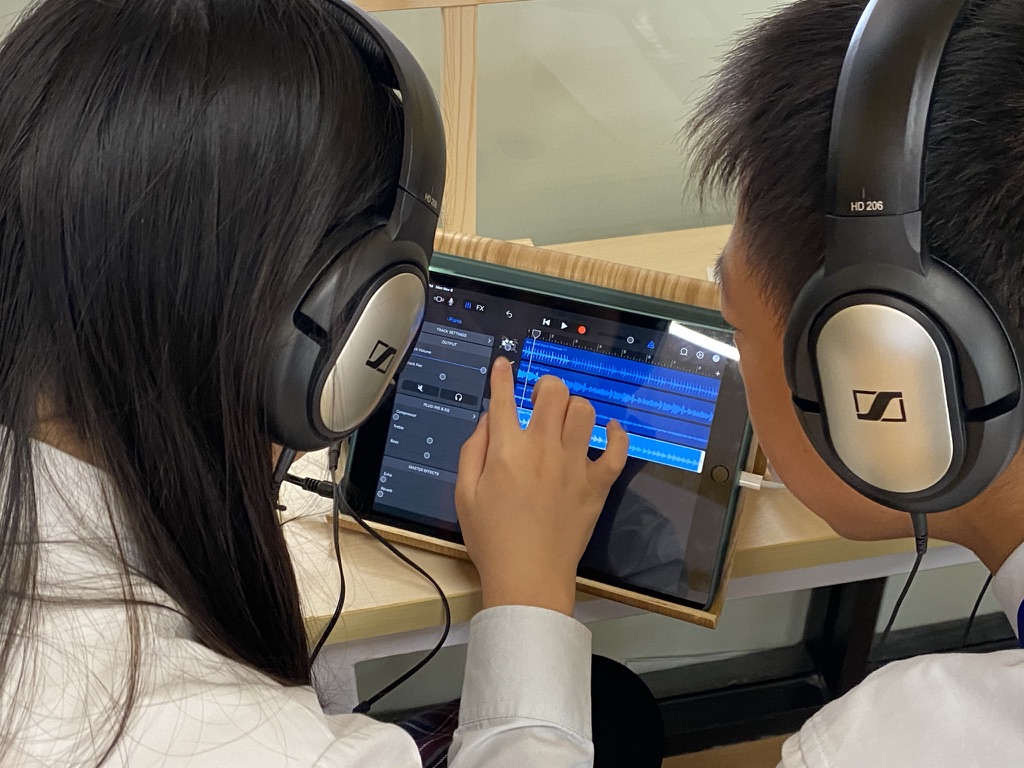
In my own teaching experience, GarageBand has proven to be an invaluable tool in helping students engage with music creation in a way that is both fun and educational. From recording their own compositions to experimenting with loops, the possibilities are endless. And with the power of GarageBand, students who have never touched a musical instrument can still create something uniquely their own.
I’ve been using GarageBand for years, and it has become one of my favorite music education tools. It allows me to teach music theory, composition, and production all in one platform, helping students of all abilities find their creative voice.
In this article, I’ll take you through the basics of GarageBand, offer practical tips to get started, and challenge you to through a GarageBand project. Let’s get started!
Setting up and Navigating GarageBand
I know that starting something new can feel like a big leap, especially when it’s a tool that you’ve never used before. But don’t worry—GarageBand is designed to be intuitive and user-friendly, making it perfect for teachers and students alike, even if you’re not a tech expert.
Once you open the app, you’ll see the recent projects view, where you can either open an existing project or create a new one by clicking the plus icon at the top. To start fresh, click on the plus icon.

After clicking, you’ll be redirected to the tracks section, where you can scroll through and explore all the available instruments in GarageBand and more. To keep things straightforward, select the keyboard instrument.
Each instrument in GarageBand offers a wide range of possibilities with its extensive and interactive features. In fact, an entire class project can be designed around just one of them.
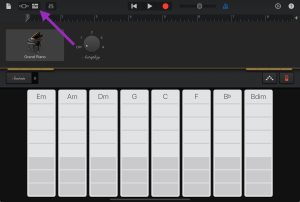
At this point, click on the third icon in the top-right corner and begin exploring the main workspace.
Enjoying this post? Join a community of forward-thinking educators! Subscribe now for exclusive access to free resources, tips, and tools to transform your music classroom with EdTech.
Once you’re in the workspace, you’ll notice several essential controls along the top and sides of the screen. Let’s break them down, going left to right:
- Project Files Manager: Manage your project files directly in the file system of your iPad (rename, delete, move, export, etc.).
- Tracks Selection: Change the currently selected instrument (piano) by scrolling to the side and choosing another option.
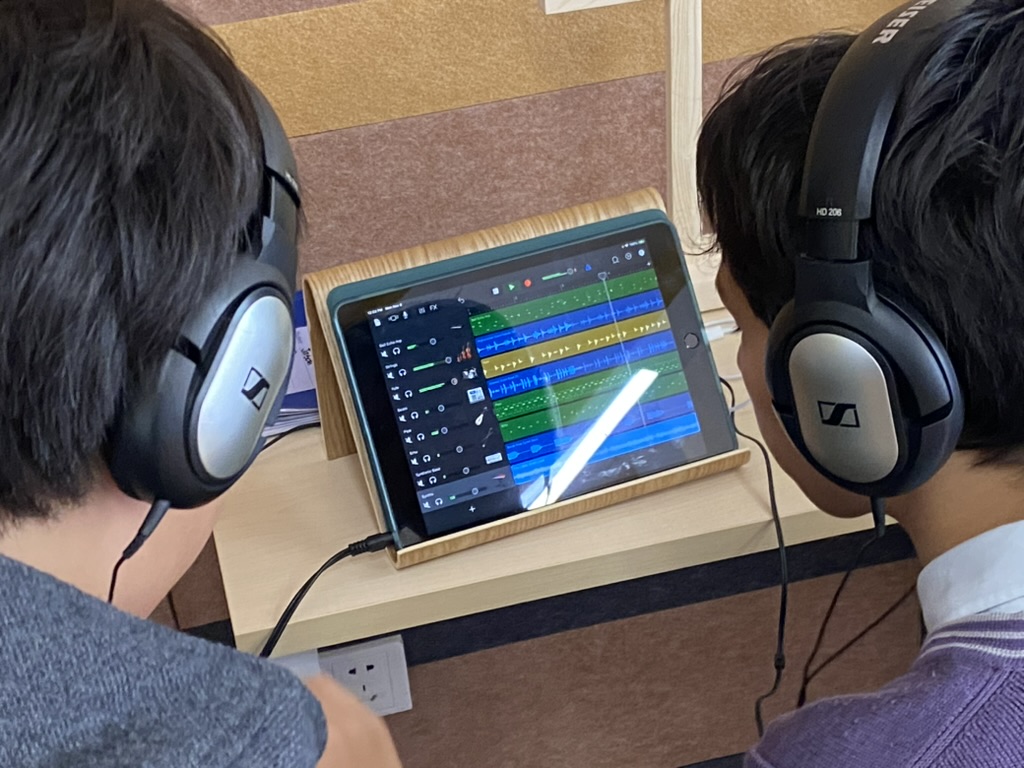
- Project View / Instrument View Toggle: Switch between these two views. Instrument View is for manual recording, while Project View provides an overview of your entire project.
- Track Setting: Access a variety of additional features specific to the selected track (in this case, piano). We’ll explore this section further later in the guide.
- FX: Panel for applying various audio effects to your track during live performance or for recording them onto your track.
- Transport: Rewind, Play, Record.
- Master Volume: Adjust the volume of your iPad speaker. Each track’s volume can be set individually.
- Metronome: Click to turn it on/off.
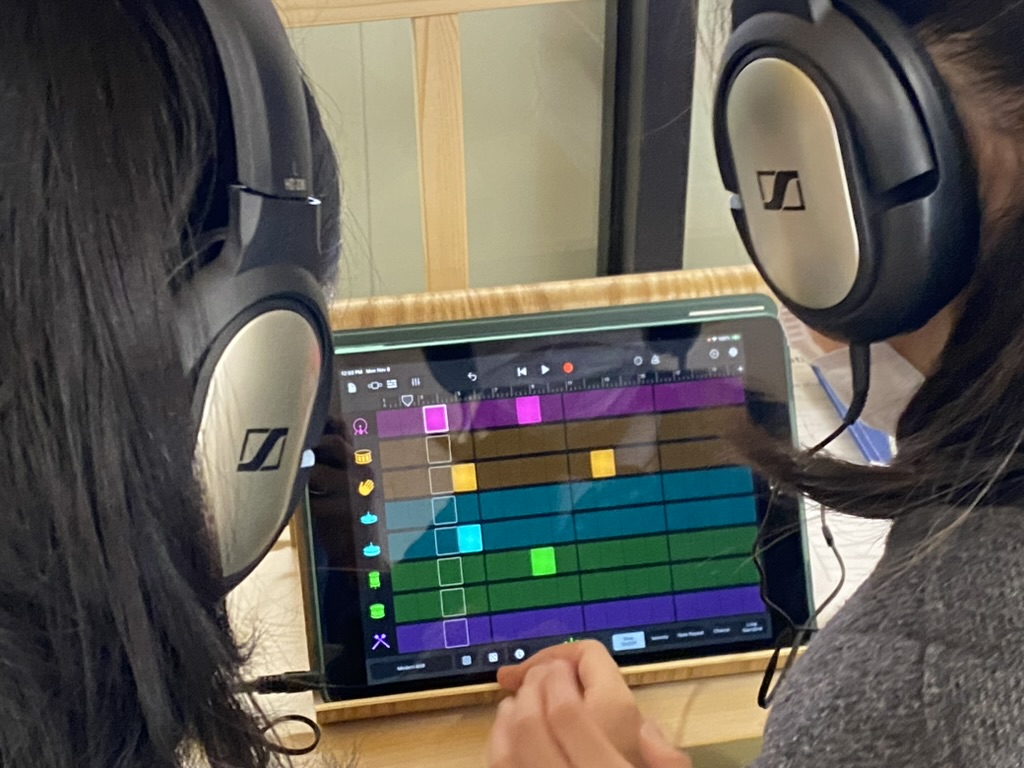
- Loops: A library of thousands of ready-made audio, MIDI, and drum loops. Preview by clicking, then drag and drop to use them. This is my favorite section when considering music lesson implementation.
- Project Settings: Adjust various project settings such as Tempo, Time Signature, Key Signature, and more.
- Help: Activate to get quick, on-screen explanations about GarageBand features.

The best way to truly understand GarageBand is by using it to make music. Over the years, I’ve seen firsthand how hands-on exploration leads to the best learning experience—both for me and for my students. Now that you have a solid grasp of GarageBand’s setup and main interface, it’s time to put that knowledge into action.
To help you get started, I’ve prepared two challenges that cater to different skill levels:
- Beginner Challenge – Use Loops to build a track effortlessly.
- Advanced Challenge – Take it a step further by recording your own melody on top of your loops.
Take a look at the challenges below and choose the one that suits you best. Let’s start making music!
Beginner Challenge: Build a Song Using Loops
Loops are the easiest way to start composing in GarageBand. They require no prior musical knowledge and allow you to create professional-sounding tracks in minutes.
Step-by-Step Instructions:
- Open GarageBand and Start a New Project.
- Select “Tracks” and choose an empty project.
- Open the Loops Library.
- Tap the Loops button in the top-right corner.
- Browse loops by instrument (drums, bass, melody) or genre (rock, hip-hop, orchestral, etc.).
- Select and Arrange Loops.
- Drag a drum loop onto your track to set the rhythm.
- Add a bass loop to build depth.
- Pick a melody loop to make your track unique.
- Arrange them on the timeline and experiment with different combinations.
- Adjust the Track Levels.
- Use the mixer to adjust volume, panning, and effects.
- Add reverb or EQ to enhance the sound.
- Play Back and Fine-Tune Your Track.
- Listen to your track and make adjustments.
- Trim loops, adjust timing, and experiment with effects.
Your Task:
Create a 16-bar composition using at least three loops (drums, bass, and melody). Once finished, play it back and see how it sounds. You’ve just made your first track!
Advanced Challenge: Experiment with Manual Recording
If you’re feeling more adventurous, take your composition to the next level by recording your own instrument or voice.
Step-by-Step Instructions:
- Set Up a New Track.
- Click the “+” button and select either:
- Keyboard (for MIDI input)
- Guitar/Bass Amp (for live instrument recording)
- Microphone (for vocals or acoustic instruments)
- Click the “+” button and select either:
- Record a Live Instrument or Melody.
- Play a simple melody on your MIDI keyboard or iPad touchscreen.
- If you have a microphone, record yourself singing or playing an instrument.
- Use the metronome to keep in time.
- Edit and Enhance Your Recording.
- Use Smart Controls to add reverb, delay, or other effects.
- Experiment with automation (volume swells, panning effects).
- Trim, loop, or layer multiple takes.
Your Task:
- Add one recorded track (instrument or voice) to your loop-based composition.
- Apply at least one effect (e.g., reverb, EQ, or delay).
- Mix it to blend naturally with your loops.
Share Your GarageBand Creation & Get Feedback!
Now that you’ve completed your first GarageBand project, it’s time to share your music with the world! I’d love to hear what you’ve created, and I’m here to give you feedback and encouragement.
Tag me on social media when you share your project:
📌 LinkedIn – @Damir Odobasic
📌 Instagram – @damir_musicverse
📌 Facebook – @Damir Musicverse
Or, if you prefer, send your project directly to my email:
How to Share Your Project Easily
If you’re using an iPad, the easiest way to share your GarageBand project is by recording your screen with the built-in Screen Recording feature. This method captures both the video and the sound, making it perfect for sharing your creation online.
To record your screen:
- Swipe down from the top-right corner to open Control Center.
- Tap the Screen Recording button (circle icon).
- Play your GarageBand project while recording.
- Stop the recording when finished and share the video!
This is the same method I use with my students in class, and it works like a charm!
Keep Experimenting & Stay Tuned!
This is just the beginning of what GarageBand has to offer. Keep exploring, creating, and having fun with music! There’s so much more to dive into, and I’ll be sharing more tips, challenges, and tutorials soon—so stay tuned!
Enjoyed this post? Join a community of forward-thinking educators! Subscribe now for exclusive access to free resources, tips, and tools to transform your music classroom with EdTech.